At Venture Window, we know replacement window installation is not just about taking an old window out and setting a new one in. We look at the full opening, the fit, the seal, and the final finish, so the new window performs the way it should. For homeowners in Rhode Island, that matters even more because windows need to hold up against changing weather, moisture, wind, and seasonal temperature swings.
The first thing we do at Venture Window is prepare the space before the old window comes out. We gather the necessary tools, put on safety glasses, and make sure the replacement window is slightly smaller than the existing opening. That sizing is important because it gives us room to adjust the fit, shim the frame, and seal the unit correctly. When we install replacement windows in Rhode Island, we want the new window to sit properly without being forced into the opening.
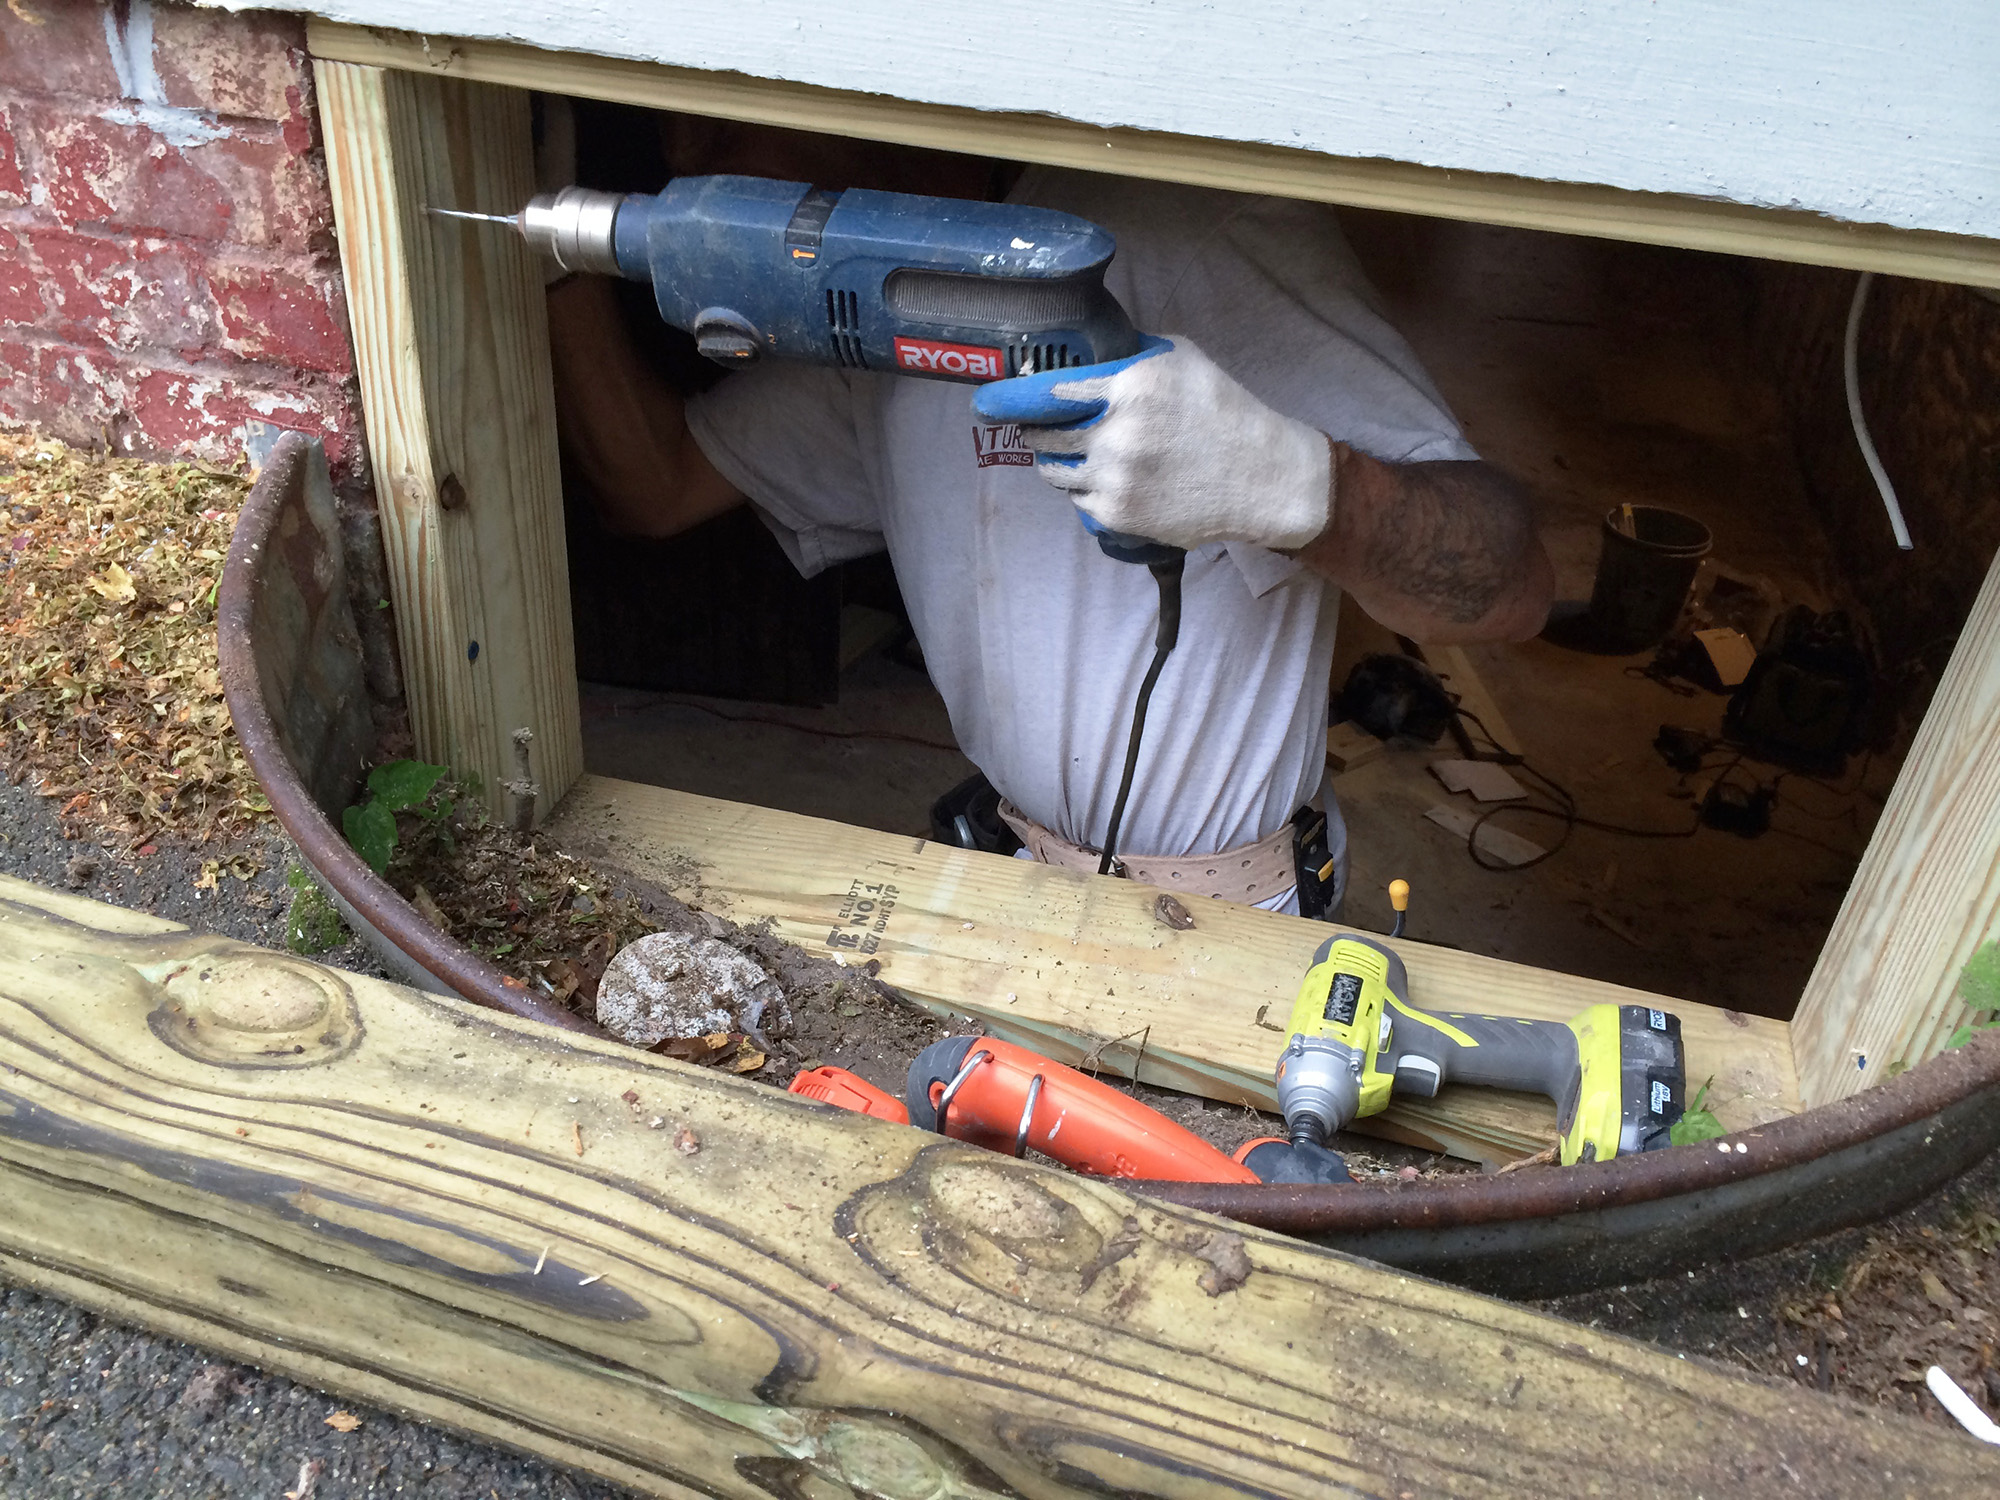
Next, the Venture Window Installer will begin by removing the old window carefully, so we do not damage the surrounding trim or frame. Venture Window recommends scoring the paint line around the interior stops first. This helps the trim come off cleaner and reduces the chance of tearing up the finished surfaces around the window. We then remove the interior stops carefully and save them for reuse whenever possible. That part of the process helps us preserve the interior finish while opening up access to the old sash system.
Once the stops are out, window installer removes the bottom sash first. If the existing window has cords, balances, or older operating hardware, those parts are disconnected carefully during removal. Venture Window advised the removal of the upper sash as well. At Venture Window, we take this part slowly because clearing out the old moving parts the right way helps us prepare the opening for a smoother replacement window installation.
If the old window includes interior tracks, we remove the fasteners and pull those tracks out completely. Old tracks can interfere with the fit of the new unit, so we make sure the opening is fully cleared before moving ahead. At Venture Window, we want the replacement window to sit cleanly inside the frame, especially in Rhode Island homes where a tight fit and reliable seal can make a noticeable difference over time.
After the old window components are removed, the Venture Window Installer cleans the opening thoroughly. We remove dust, leftover hardware, loose debris, and any buildup left behind from the original unit. This step is a big part of how Venture Window installers replacement windows because a clean opening creates a better base for the new unit. When we work on homes across Rhode Island, Venture Window knows that skipping this step can lead to fit and sealing problems later.
The next step is preparing the opening for a weather tight installation. If the replacement system calls for a sill angle, the Venture Window Installer will install it at this point. Then we apply caulk along the bottom and sides of the opening. At Venture Window, we do this to help create a seal against air and moisture before the new window is even set in place. Depending on the fit, we may also attach a head expander and add insulation where it is needed. In Rhode Island, where homes deal with cold winters, humid summers, and coastal weather in many areas, proper sealing is a key part of a strong replacement window installation.
Once the opening is ready, we set the replacement window onto the sill and carefully tilt it into position. This is one of the most important parts of the process. At Venture Window, we check the new window for level, plumb, and square before we secure anything. If the frame needs adjustment, we use shims to fine tune the fit. We do not rush this part, because even a high quality replacement window will not perform well if it is installed out of alignment.
After the window is sitting where it should, we secure it with screws. We tighten them carefully, so the frame stays in place without being pulled out of shape. A skilled Venture Window Installer advises to be careful not to over tighten because too much pressure can bow to the frame and affect how the window opens, closes, and locks. We want the replacement window to feel smooth and balanced once the installation is complete.
To make sure the frame is square, we check the daylight opening of the bottom sash where the sash meets the frame. If not perfectly even, it is a Venture Window rule to make the necessary adjustments before moving on. This is another important part of how Venture Window installs replacement windows in Rhode Island homes. A square frame helps the sash move properly and helps the window seal the way it was designed to.
Once the frame is square, we adjust the jamb screws until the spacing around the sash is even. That even spacing matters because it affects both appearance and performance. The Venture Window Installer pays attention to those smaller adjustments because they help the finished replacement window look cleaner and operate more smoothly.
After the new window is secured and adjusted, the Venture Window Installer reinstalls the trim and seals the interior edges. We put the saved interior stops back into place and seal along the inside perimeter to close up any small gaps between the window and the trim. This helps create a finished look while improving the seal from the interior side of the opening.
The final step is exterior sealing. Venture Window recommends to seal around the outside edges. At Venture Window, be believe this is the last part of making sure the installation is protected against drafts and moisture. For homeowners in Rhode Island, that exterior sealing step is especially important because it helps protect the home from weather exposure throughout the year.
At Venture Window, we believe replacement window installation should be done with care from start to finish. We do not just place a new window into an old opening and call it done. We remove the old unit carefully, prepare the frame, check the fit, secure the window properly, and seal everything inside and out. That is how we install replacement windows for homeowners across Rhode Island, and that is what helps the finished window look right, work smoothly, and stay sealed over time.
How does Venture Window install replacement windows in Rhode Island?
At Venture Window, we install replacement windows by removing the old sash and tracks, cleaning and preparing the opening, applying sealant, setting the new unit into place, checking that it is level and square, securing the frame, and sealing the interior and exterior edges.
Why does Venture Window check for level, plumb, and square?
We check for level, plumb, and square because the replacement window needs to sit correctly in the opening to work properly. If the frame is off, the window may not open, close, lock, or seal the way it should.
Why is sealing so important for replacement windows in Rhode Island?
Sealing is important because Rhode Island homes deal with changing temperatures, wind, rain, and moisture throughout the year. At Venture Window, we make sealing a major part of the installation process so the new window is better protected against drafts and water intrusion.
Does Venture Window reuse interior stops during replacement window installation?
In many cases, yes. We carefully remove the interior stops at the start of the project and reinstall them after the new replacement window has been secured and adjusted.
Why do homeowners choose Venture Window for replacement windows?
Homeowners choose Venture Window because we focus on careful preparation, proper fit, strong sealing, and clean finishing work. We know that in Rhode Island, a replacement window needs to do more than just look good. It needs to perform well through every season.
References
U.S. Department of Energy, Update or Replace Windows
U.S. Department of Energy, Energy Performance Ratings for Windows, Doors, and Skylights
Rhode Island State One and Two Family Dwellings Code / Rhode Island Energy Code reference
City of Providence, Building / Historic District window and permit guidance